Vive Linux
I’ve got a HTC Vive, and I managed to get it to work, and – more importantly – to get several applications to work with it.
Kernel
The Vive comes with a link box that connects to USB and HDMI, so you need to have some drivers compiled in. The following might be somewhat nonstandard, or at least I haven’t had to use them before I got the Vive.
CONFIG_USB_HIDDEV=y

CONFIG_SND_USB=y

CONFIG_SND_USB_AUDIO=m

CONFIG_SND_HDA_CODEC_HDMI=y
Also, you need to give your user some permissions on these devices via udev-rules. The debian-package steam-devices will actually install one, but apparently this is not enough, thus:
ACTION=="add", KERNEL=="hidraw*", ATTRS{idVendor}=="0bb4", ATTRS{idProduct}=="2c87", TAG+="uaccess"

ACTION=="add", KERNEL=="hidraw*", ATTRS{idVendor}=="28de", ATTRS{idProduct}=="2000|2101", TAG+="uaccess"
Or something thereabouts. Using TAG+="uaccess" is the modern version you should use instead of MODE="0666" or somesuch.
X11
I actually wasn’t able to tell my system it should use the DisplayPort first, if a HDMI device was plugged in. So I need to boot first, and only then plug in the HDMI cable to the link box. This also has the effect that my X11 usually has no idea about the Vive, and it needs to be activated to work. You can set the Vive display as active in nvidia-settings (for nvidia, GPUs obviously). This looks like this then:
$ xrandr --listmonitors

Monitors: 2

 0: +DP-0 1920/477x1080/268+0+0  DP-0

 1: +HDMI-0 2160/122x1200/68+1920+0  HDMI-0
Building Vrui
The first thing I read about anything working with the Vive on Linux, was this post: I Am Using VR on Linux with My Vive and Vrui. I actually had tried an earlier version of Vrui before, but failed. But 4.2-006 actually works. However, there are no debian-packages, it’s not even available to clone from some RCS, there seems to be only a tar-ball, and along with it even a bash-script to build it.
Since I think bash-scripts and wget to build software is 1980ies I only followed it somewhat. First, get dependencies:
apt-get install build-essential g++ libudev-dev libdbus-1-dev libusb-1.0-0-dev zlib1g-dev libpng-dev libjpeg-dev libtiff5-dev libasound2-dev libspeex-dev libopenal-dev libv4l-dev libdc1394-22-dev libtheora-dev libbluetooth-dev libxi-dev libxrandr-dev mesa-common-dev libgl1-mesa-dev libglu1-mesa-dev libxine2-dev
Note the libxine2-dev which the script doesn’t install.
I then edited the makefile, where I changed a load of hard-coded variables around, and also set known paths like STEAMVRDIR to where I knew it would find it, because it would otherwise do find over my home-directory.
As it turned out, my build environment was also too new, it bombed on the C++ 11 ABI. I had to put
CFLAGS += -D_GLIBCXX_USE_CXX11_ABI=0 into the makefile. And since we’re on it, put it into ExamplePrograms/makefile as well, but take care that it goes below the include-statements.
After compiling and installing, it’s ready to run. If you haven’t installed the udev-rules yet, Vrui comes with some decent ones. And you can also change directory to ExamplePrograms, and build and install these as well. And copy over the Share/RunViveTracker.sh to where its useful.
Running Vrui
First off, start RunViveTracker.sh and keep it running.
Now you first want to run EyeCalibrator -rootSection Vive, which will display a window within the Vive, that will show you to how many millimetres you set the interpupillary distance with the knob on the right of the Vive. Read Technology Transfer for more information.
The next thing is RoomSetup Vive. Note that you don’t want to set a rootSection here, as you want it to display on the desktop. Vive la Vrui! will basically walk you through this. The room setup will define the area for the Screen Protection (that is the green wireframe) which will pop up if you move too near to the room borders.
After that, you’re ready to go, to use something like ClusterJello -rootSection Vive. See I Am Using VR on Linux with My Vive and Vrui for more.
VruiXine
If libxine2-dev was already available while building the Vrui examples, VruiXine should already have been compiled. As usual, it’s started with VruiXine -rootSection Vive, if you want it to use a different audio output than pulseaudio, you can set that with -ao alsa or something like that.
For me, VruiXine always starts with the window at an angle about three metres to the left. Upon clicking on “theatre”-mode in the menu, this gets fixed and the window is in front of me. Or I can start it with -vo theater (careful: American spelling: “theater”). Also menus appear in five metres distance initially, but pulling them up again will subsequently display them near me and readable. The “Save”-button in the DVD menu, will save the streaming settings and display mode (window/theatre), but not the window size and position, and it will save it into the folder the movie is in, with the name of the movie and .cfg added. So all the settings are movie-specific.
Also, unless you’re sitting in the middle of your VR space, you might need to disable the Screen Protector lest you constantly have green wire frame in your movie. Apparently you can do this in the menu “Vrui System”->”Devices”, but I just set screenProtectorDevices ( ) in ~/.config/Vrui-4.2/Vrui.cfg.
You can see which config-files are used by starting it with the -vruiVerbose flag.
See also the “Watching Movies” section on Vrui on Oculus Rift DK2
CaveQuake
CaveQuake is a Quake3 map viewer that sets up on Vrui. See Quake III Arena Maps in VR, under Linux, with Vive+Vrui on how to set this up.
One important thing to note is that here as well, I had problems with the C++ 11 ABI. In the installed share/Vrui-4.2/make/BasicMakefile I put in EXTRACSYSFLAGS += -D_GLIBCXX_USE_CXX11_ABI=0 So everything compiled against Vrui in the future would get this flag set. For CaveQuake itself, I also did set export EXTRACSYSFLAGS += -fPIC temporarily to compile.
The controls you get with “Walk” are this green thing on the floor, which is meant to be leaned on/off to move you. Which is really made for use in a Cave, and not in a Couch. Sadly, I have not yet found any option to control movement via keyboard, or even via those Vive controllers.
Apparently, most menu items in the Vrui control menus are really not menu items, but tool bindings, things you can bind to your controllers, save with “Vrui System”->”Devices”->”Save Input Graph” and load with -loadInputGraph on the commandline. Still, I don’t quite understand how this works.
Vivecraft
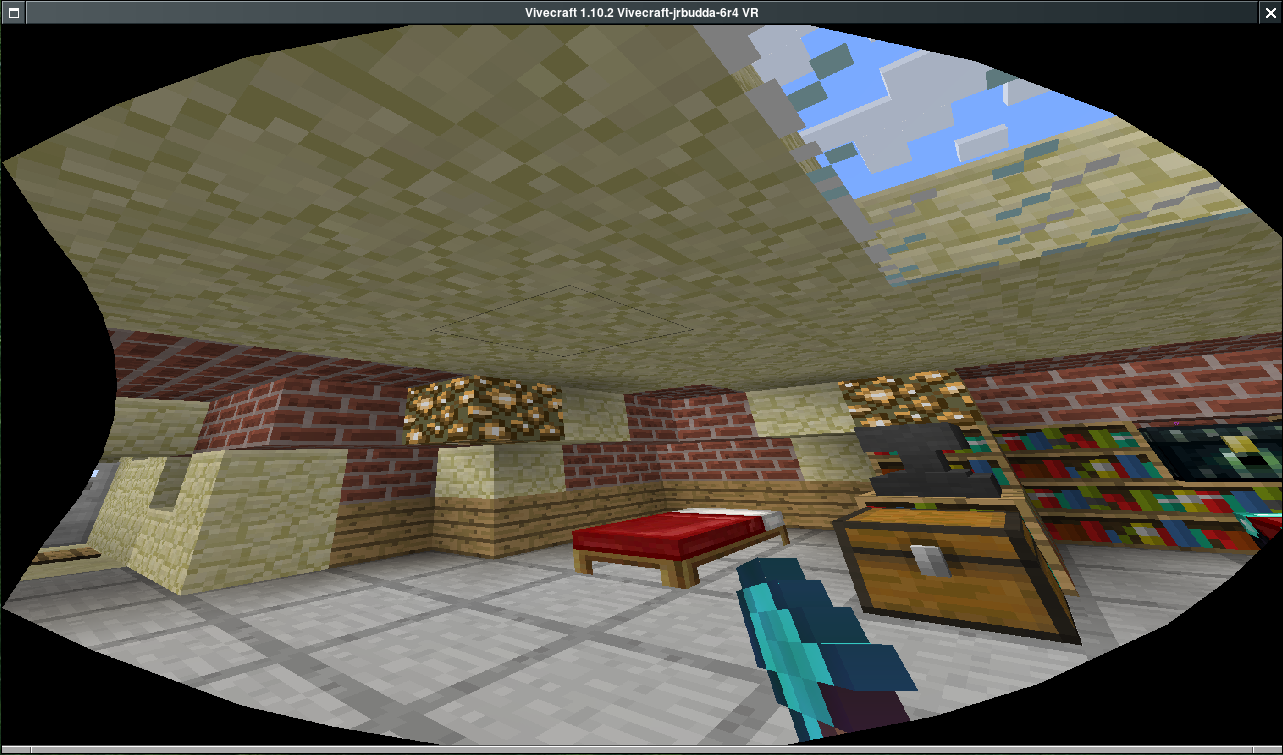
Vivecraft on Linux
There is a Minecraft mod for using the Vive, called Vivecraft. You can get it from https://github.com/jrbudda/Vivecraft_110 but I haven’t been able to build it myself yet. So I used this: vivecraft-1.10.2-Vivecraft-jrbudda-6r4-installer.jar.zip
There are some other versions flying around, but they may lack the native Linux libraries. Also, you need Minecraft of course.
Now, in order to get this working, I needed the 64bit versions of the SteamVR libraries driver_lighthouse.so and libaitcamlib.so. The main problem were dependencies, since my system does not usually have such outdated libraries as libudev.so.0. The first attempt was to use the Steam-environment, but that includes dozens of outdated libraries, which in turn resulted in java not working. So I symlinked only the necessary libraries to where they were needed:
cd ~/.steam/SteamApps/common/SteamVR/bin/linux64

ln -sf ~/.steam/ubuntu12_32/steam-runtime/amd64/lib/x86_64-linux-gnu/libudev.so.0.13.0 libudev.so.0
And wrote a little startup-script:
#!/bin/sh
DRIVERDIR=~/.steam/SteamApps/common/SteamVR/drivers/lighthouse/bin/linux64
COMMONDIR=~/.steam/SteamApps/common/SteamVR/bin/linux64export MESA_GL_VERSION_OVERRIDE=4.1
export MESA_GLSL_VERSION_OVERRIDE=410
export __GL_SYNC_DISPLAY_DEVICE=DFP-5export LD_LIBRARY_PATH=$LD_LIBRARY_PATH:$DRIVERDIR:$COMMONDIR
cd ~/.minecraft
/usr/lib/jvm/java-8-openjdk-amd64/bin/java -Xms2048M -Xmx2048M -jar Minecraft.jar
You might need to change that DFP-5 there, that’s the HDMI port your Vive sits on.
With that, it starts, and as long as the Vive can not see the base stations it displays the main menu. However, when I put it on, the menu is only visible up to the far right. There’s a “Reset Origin” menu item, and if you place your mouse on that before putting on the Vive, and click on it afterwards, Vivecraft kinda works. You can walk around, destroy and place blocks and so on. All with you mouse and keyboard. What’s not working for me is the menus and inventories, as I suspect they pop up somewhere where I can’t see them.
See also the issue on github.